We have already seen a few articles about SSL certificate related CSR requests, Complete Certificate, export PFX certificate files from Windows Server, and extracting Private Key from PFX files. If you are familiar with Windows Server IIS Manager, you can follow my previous article to generate the PFX file. Would you want to know how to create PFX file? In this article, I will share the simple way to create a PFX file using the OpenSSL command.
Using Open SSL commands is very simple, I have already shared the article that helps to know how to run Open SSL commands in windows machines. You can check this article and follow Step 2 to Step 5 to install OpenSSL in your machine. However, I’m repeating these steps here,
How to Install OpenSLL?
Step 1: Download the OpenSSL source file from this link. This is the older version but works perfectly fine.
Step 2: Once the file is downloaded to your windows machine, unzip the file. Then go to the bin folder, refer to the screenshot below,
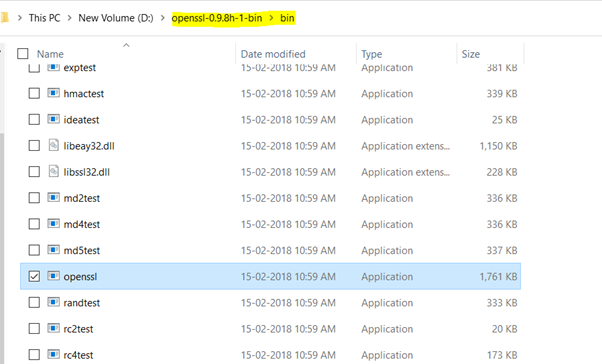
Then double click on the “openssl” application file inside the bin folder.
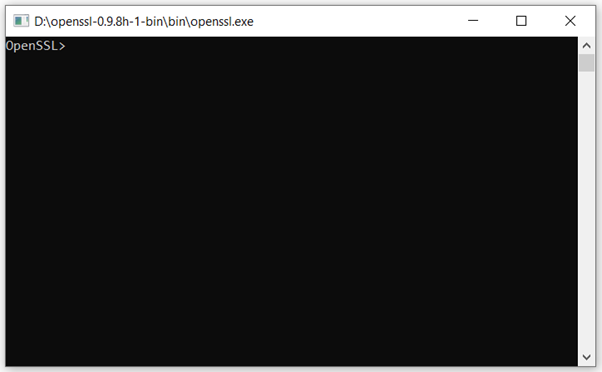
Step 3: This will open the OpenSSL command window. Here you need to execute the required command.
How to create PFX file using OpenSSL command?
Once you configured the OpenSSL source in your machine, you are ready to run any OpenSSL commands using this. Let see the OpenSSL command that use to create a PFX file.
Syntax
pkcs12 -export -in {certificate-file} -inkey {private-key-file} -out {certificate-pfx-file} -certfile {intermediate-certificate}
Example
pkcs12 -export -in certificate-file.cer -inkey private-key.pem -out certificate-pfx-file.pfx -certfile intermediate-certificate.cer
| pkcs12 | OpenSSL command |
| -export | To export the output file |
| -in certificate-file.cer | Input property. Here we can give the certificate file in the .cer extension as input. |
| -inkey private-key.pem | Input property. Here we can give the private key file in the .pem extension as input. |
| -out certificate-pfx-file.pfx | Output property. Here we can give a file name to save a PFX certificate file. |
| -certfile intermediate-certificate.cer | Input property. Here we can give the intermediate certificate key (CA) file in the .cer extension as input. This is necessary to avoid no chain or certificate incomplete issue. |
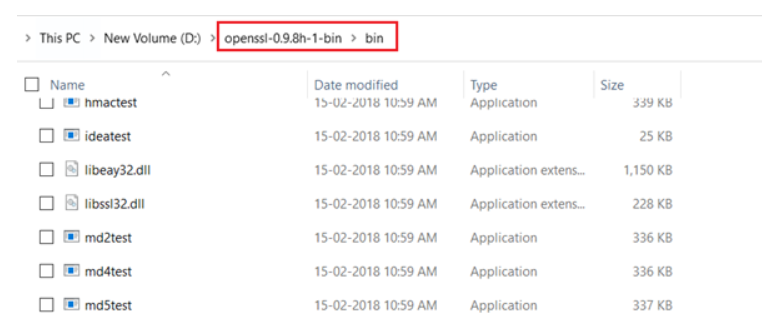
Step 1: Place the required following input files inside the OpenSSL source bin folder, Refer to the image for the right location,
- Certificate File in .CER
- Private Key File in .KEY
- Intermediate Certificate (CA) file in .CER
Step 2: Execute the command mentioned above to create the PFX file.
pkcs12 -export -in {certificate-file} -inkey {private-key-file} -out {certificate-pfx-file} -certfile {intermediate-certificate}
Step 3: You will be asked to set the password to export the PFX file. You should note down the password and keep it secure because this will require while using the PFX certificate file each time.
That’s it. The New PFX certificate file will be saved in the bin folder. You can use it for the SSL certificate configuration of your Website/Web API.